The guide to Django migrations in Python
This guide will help you get comfortable with Django migrations that are mostly automatic, but you still need to know when to make migrations, when to run them, and the common problems you might run into.
Written by Ari Joury
So you’re a front-end developer and you’re being asked to manage the database for your website. “But I’m a front-end dev, I don’t deal with databases,” I hear you say.
That’s exactly where Django comes in. It can route URLs, authenticate users, and it enables front-end developers to build and interact with databases even when they have little to no experience with SQL. With Django, developers can create, read, update, and remove the records in a relational database management system without directly manipulating the system.
This is particularly useful for developers who don’t want to mess things up. SQL can become quite complex to handle, and using the wrong queries can quickly result in losing sensitive or highly valuable data.
Django sits on top of the database and uses an object-relational mapper to interact with it. That’s a fancy way of expressing the fact that you tell Django what kind of structure you want your database to have. As an example, consider setting up a database about some products in an e-commerce store. With Django, this can be done in a few lines of code.
First, however, you’ll need to set up a new Django project. For this, open your terminal, and create a virtual environment. On Linux and macOS X, this looks like this:
$ python3 -m venv env
$ source env/bin/activate
(env) $ pip install "Django==2.1.*"
...
Successfully installed Django-2.1.3
⚠️ On Windows, change the line source env/bin/activate for env/bin/activate.bat, and the result should be the same.
Now you’re ready to set up your Django project:
$ django-admin.py startproject product_tracker
$ cd product_tracker
$ python manage.py startapp product_data
With the last line you have also created an app called product_data. This is where the migrations will be performed. By default, Django creates a few files for the project and the app, which you can explore using ls.
Now we can define the structure of the database about our projects to product_data/models.py by adding the following code to the file:
class ProductInventory(models.Model):
    date = models.DateTimeField(auto_now_add=True)
    price = models.DecimalField(max_digits=7, decimal_places=2)
    volume = models.PositiveIntegerField()
This app also needs to be added to settings.INSTALLED_APPS by appending product_data to the existing array INSTALLED_APPS in the file product_tracker/settings.py.
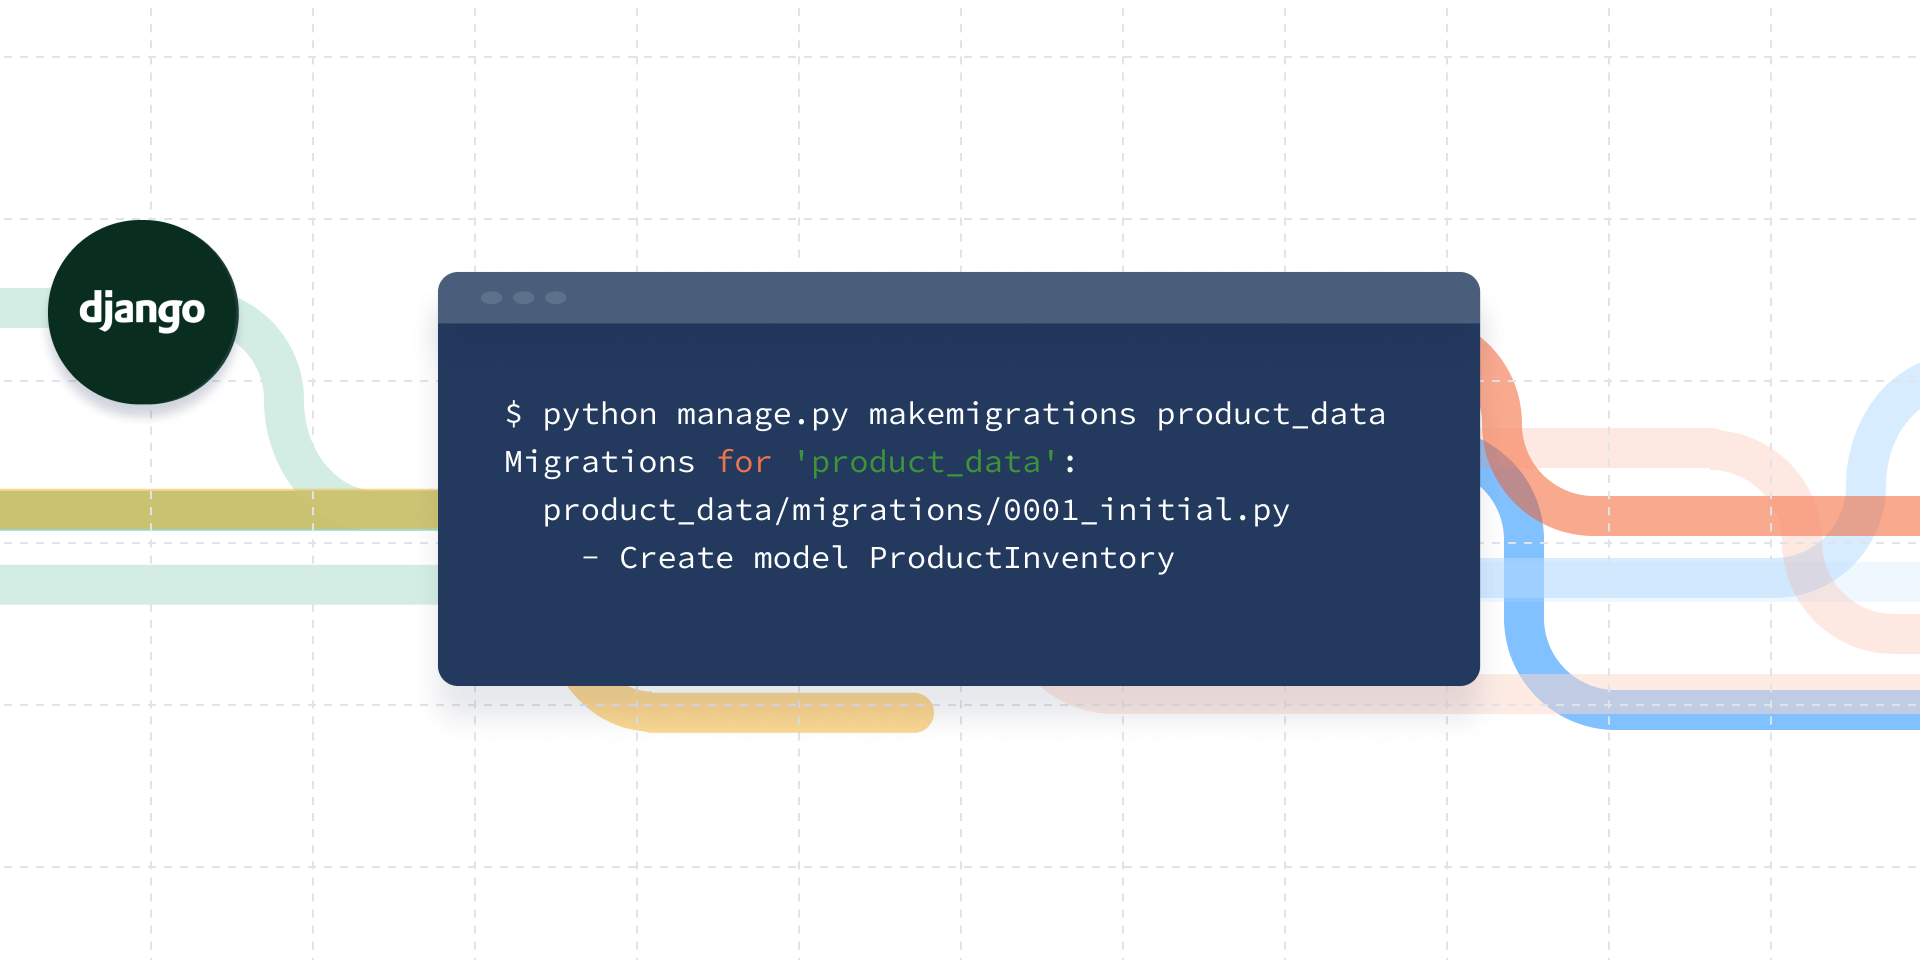
Now you’re ready to do your first migration! To do this, execute the following command:
$ python manage.py makemigrations product_data
Migrations for 'product_data':
  product_data/migrations/0001_initial.py
    - Create model ProductInventory
The makemigrations command is the way you tell Django to create the database tables that you defined in your application. You will now see a new file at product_data/migrations/0001_initial.py, which contains all the instructions for creating the database structure.
This command has created the migration, i.e. the instructions for how to set up the database, but the database itself hasn’t been created yet. This is fixed with the following command:
$ python manage.py migrateYou might notice that there is a lot of output when you run this command. That is because product_data is not the only database that Django will create. Things like user authentication and sessions will be stored here, too.
Note that making large migrations might take some time. If you wish to restrict your migrations only to the database that you’re working on, just append its name like so:
$ python manage.py migrate product_dataYou should, however, run all databases at least once when you set up your project. This ensures that you’re not missing out on important functionalities.
If you want to make changes to your model, this is as simple as editing product_data/models.py, then running makemigrations and migrate again.
You can display all past migrations by running:
$ ./manage.py showmigrationsYou can revert back to an older migration by running:
$ python manage.py migrate product_data 0001_initialNote that you’ll need to check out the name of the migration you want to go back to using showmigrations. You can also give your migrations more descriptive names in the following fashion:
$ ./manage.py makemigrations product_data --name updated_formatNow you’re all set! Let’s cover a few common trip falls and best practices before we leave off.
Django migrations: Common mistakes
Deleting a migration file
Maybe you made a mistake in a previous migration, and you want to undo this. When you’re in panic mode, it’s easy to think that deleting the migration file like so would to the trick:
$ rm product_data/migrations/0002_updated_format.pyIf you have changed your model in product_data/models.py then this won’t work. You’ll need to undo whichever changes you did in the model file. Only then, if you remove the migration file and run migrate again, will the migration work without throwing errors.
Deleting data columns
If you accidentally deleted a column of data, you might be tempted to just reverse to the old migration where the data is still there. I have bad news for you here because this doesn’t work. Data that’s gone is gone. You’ll need to re-create the column and populate it with values again.
Django Migrations: Best practices
Name your migrations
You’ll be surprised how quickly you forget what your 9th, 11th, or 38th migrations were done for. Use the --name tag whenever you migrate.
Backup your data before migrations
Never underestimate your own foolishness. Everybody makes silly mistakes sometimes, so backup your data every time before you migrate. This might seem like a waste of time but you will thank yourself the next time you mess up!
Version control your migrations files
It might seem like you’re bloating your git repository, but de facto migration files are extremely useful. Not only will you keep track of every functionality and of what was added when; you’ll also find it easier to duplicate your work if it gets lost locally.
Famous last words
Django is one of the tools that many front-end developers can’t live without. Whether you’re just starting out or needed to refresh your knowledge, you’ve come to the right place!
Let us know how it goes in the comments. Until then, happy coding!
Relevant readings:
How to build a Django admin panel